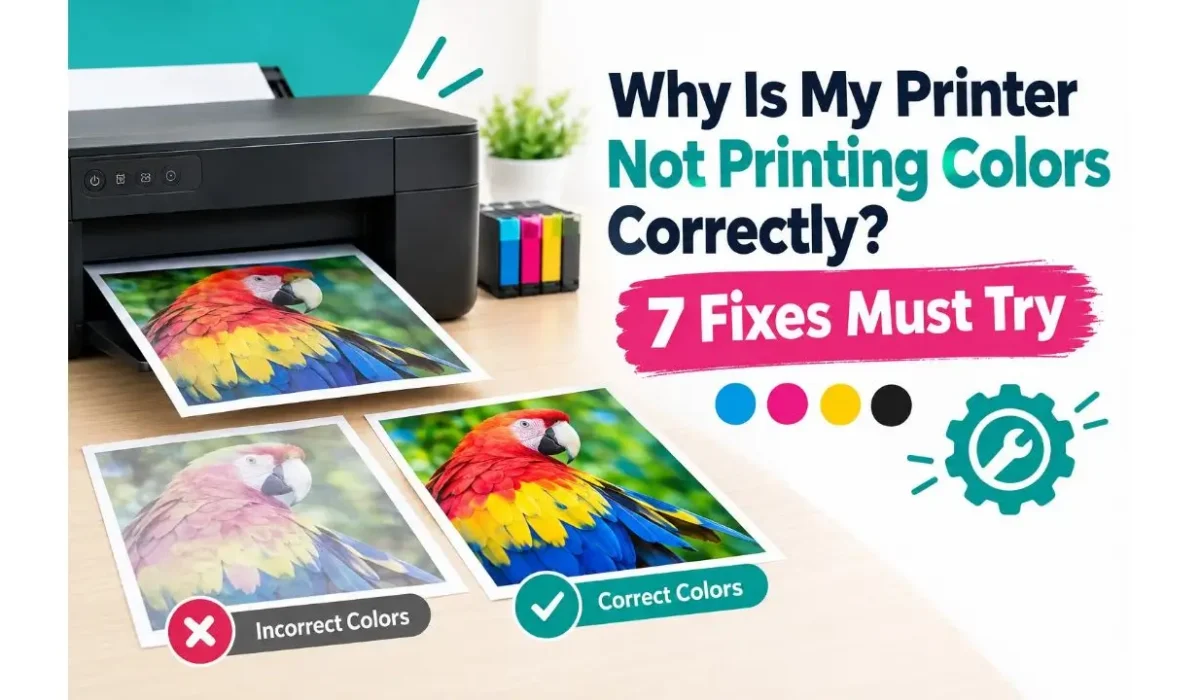
Why Is My Printer Not Printing Colors Correctly? 7 Fixes Must Try
You hit print, wait for the page, and the colors look wrong. Red looks orange, blue looks purple, or the whole page looks faded. Sometimes one color is missing completely.
This problem is very common, and in most cases you can fix it yourself in a few minutes. You don’t need to buy a new printer.
In this guide, you will learn why your printer is not printing colors correctly and 7 easy fixes to try. Start with the first one and move down the list.
First, Print a Color Test Page
Before you try any fix, you need to see what is actually wrong. A color test page shows you which colors are missing, faded, or streaked.
You can use the free Color Printer Test Page tool to print a test page in full color. It also lets you print a black and white test page, so you can check both modes. Print the color page and look at it closely:
- Missing color: One block is empty or very light. That ink is probably low or the nozzle is clogged.
- Horizontal lines: The printhead is dirty or blocked.
- Wrong shades: Colors are mixed up. Check the settings or the cartridges.
- Faded page: Ink is running low, or the paper or print quality setting is wrong.
Keep this printed page with you. After each fix, print it again to see if things have improved.
Fix 1: Check Your Ink Levels
The most common reason for bad colors is low ink. Color printers use at least three colors: cyan, magenta, and yellow. Most also use black. When even one of them runs low, the colors on your page will look wrong.
For example, if magenta is low, your reds and purples will look weak. If cyan is low, blues and greens will look off.
What to do:
- Open your printer software on your computer or phone.
- Look for “Ink Levels” or “Supplies.”
- Check each color one by one.
- Replace any cartridge that is low or empty.
Ink level meters are not always correct, especially if you use refilled or compatible cartridges. So even if the screen says “OK,” a bad test page can still mean that a color is empty.
Fix 2: Clean the Printhead
The printhead is the part that sprays ink onto the paper. It has tiny holes called nozzles. If you don’t print often, ink dries inside these holes and blocks them. When this happens, one or more colors stop printing properly.
This is why you often see white lines or missing colors on your test page.
What to do:
- Open your printer settings or software.
- Find “Maintenance” or “Tools.”
- Click “Clean Printhead” or “Head Cleaning.”
- Wait until the cleaning finishes.
- Print a color test page again to check.
If the page is still bad, run the cleaning one more time. Do not run it more than 3 times in a row, because each cleaning uses a lot of ink. If the problem stays after three cleanings, try one of the other fixes below.
Fix 3: Run a Nozzle Check and Align the Printhead
A nozzle check is a special pattern your printer makes to show which nozzles are working. It is different from a normal test page, but both are useful.
After cleaning, the printhead can sometimes be slightly out of position. This makes colors look blurry, or the edges of the colors do not match up.
What to do:
- Go to “Maintenance” in your printer settings.
- Run “Nozzle Check” and look at the pattern.
- Run “Align Printhead” (some printers call it “Calibrate”).
- Follow the steps on the screen. The printer will print a page and ask you to pick the best-looking boxes.
After this, print a test page in color and in black and white again. Your lines and colors should look sharper now.
Fix 4: Check the Print Settings
Sometimes the printer is fine, but the settings are wrong. This is a very common mistake, and it takes only a minute to check.
Look at these settings before you print:
- Color mode: Make sure it is set to “Color,” not “Grayscale” or “Black and White.”
- Print quality: If it is set to “Draft” or “Economy,” colors will look light and weak. Change it to “Standard” or “High.”
- Paper type: If you print on glossy photo paper but the setting says “Plain Paper,” the colors will look wrong.
- Ink saving mode: Turn this off if you want bright colors.
Your computer may also remember old settings from an earlier print job. Always open the print window and check the settings each time.
Fix 5: Use the Right Paper
Paper matters more than most people think. Cheap or damp paper soaks up ink in the wrong way. This makes colors look dull, blurry, or spread out.
Tips for better results:
- Use paper made for inkjet printers if you have an inkjet.
- For photos, use photo paper and select the correct paper type in the settings.
- Always print on the correct side of the paper. Photo paper usually has one shiny side.
- Keep your paper in a dry place. Damp paper causes streaks and weak colors.
If your colors look better on a different paper, then the paper was the problem, not the printer.
Fix 6: Replace the Cartridge or Try a Different One
If you have cleaned the printhead and checked the settings but the color is still wrong, the cartridge may be the problem. Cartridges can dry out, leak, or get damaged. This is more likely if they are old or have been sitting unused for months.
Also, not all cartridges are the same. Low-quality refilled or compatible cartridges can give different shades than the original ones.
What to do:
- Take out the cartridge and check for dried ink or damage.
- Gently clean the metal contacts with a soft, lint-free cloth. Do not touch the nozzle area.
- Put the cartridge back and make sure it clicks into place.
- If it still prints badly, try a new cartridge, preferably an original one.
Fix 7: Update Your Printer Driver and Restart
Sometimes the problem is not the ink or the hardware. It is the software. A driver is a small program that lets your computer talk to your printer. If it is old or broken, colors can print wrongly.
What to do:
- Turn off your printer and your computer, then turn them back on.
- Go to your printer brand’s website (HP, Canon, Epson, Brother, etc.).
- Download the latest driver for your exact printer model.
- Install it and restart your computer.
- Print a test page again.
If you print from a phone, also update the printer app on your phone.
How Often Should You Print a Test Page?
The best way to avoid color problems is to use your printer regularly. When a printer sits unused, ink dries in the nozzles. Here are some simple habits:
- Print one color page every week, even if you have nothing important to print.
- Use a color and black and white test page once a month to catch small problems early.
- Turn your printer off using its power button, not by pulling the plug. This lets the printer cover the printhead to keep it from drying out.
- Keep your printer away from very hot, cold, or dusty places.
These small habits save you ink, money, and frustration.
When Should You Call a Technician or Replace the Printer?
If you tried all 7 fixes and the colors are still wrong, there may be a hardware problem. The printhead may be permanently damaged, or an internal part may be broken. Here are the signs:
- One color never prints, even with a new cartridge.
- The printer shows an error about the printhead.
- Cleaning does not help at all after many attempts.
At this point, contact the printer’s support team or a local repair shop. If your printer is very old, buying a new one may cost less than repairing it.
Final Thoughts
When your printer is not printing colors correctly, don’t panic. In most cases, the cause is simple: low ink, a clogged printhead, wrong settings, bad paper, or an old driver. Go through the fixes in order, and test after each one.
The easiest way to see if a fix worked is to print a test page. Visit Color Printer Test Page to print a free test page in color and in black and white. Compare it before and after each fix, and you will quickly find the real problem.
Do you have a printer problem that is not covered here? Leave a comment, and we will help you find the answer.